
But first I like to share the history of the flies I tie. This fly was first tied by a man named John Jewhurst and was called Moon's Fly after a butcher he knew. This fly was Moon's favorite fly and then later called Butcher in 1838 by a man named William Blacker. The fly's name was mistakenly thought because how well it caught fish. The red represented blood as the silver body a blade and the blue wing an apron of a butcher.
I couldn't get any blue mallard feathers, but I have them coming from friends who hunt ducks. So right now I had to substitute with blue dyed duck quills. And they are not in the best shape. Beggar's can't be choosy.
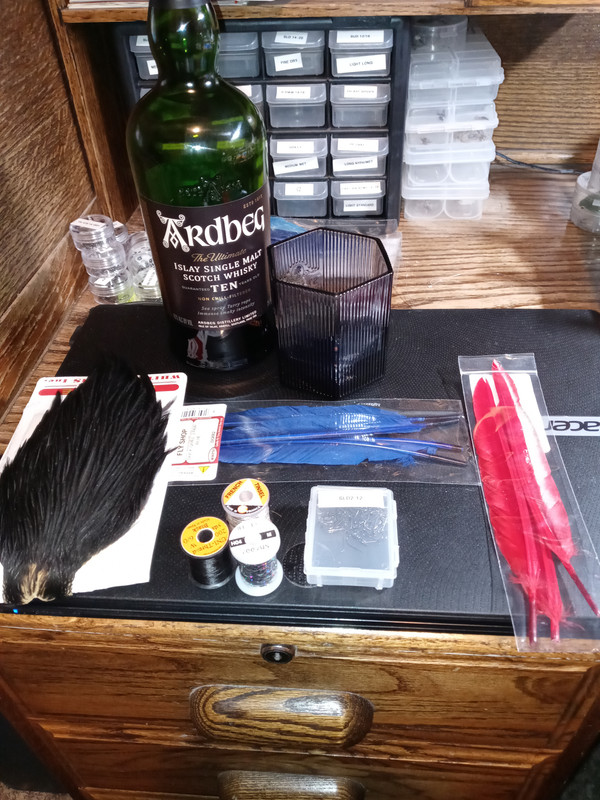
Before we get started, I am suffering from a bad chest cold and coughing hard and often. So this may not be my best attempt. The whisky is for after the fly is finished.
Materials:
Hook : whatever hook you like best, but I would prefer a medium gauge hook size 12.
Thread : Black 8/0 or 6/0 Uni Thread
Tail : Red duck quill or goose shoulder
Rib : Oval tinsel in silver
Body : Silver tinsel
Beard : Black hen hackle
Wing : The blue speculum feathers from a mallard. Today I sub for blue duck quill.
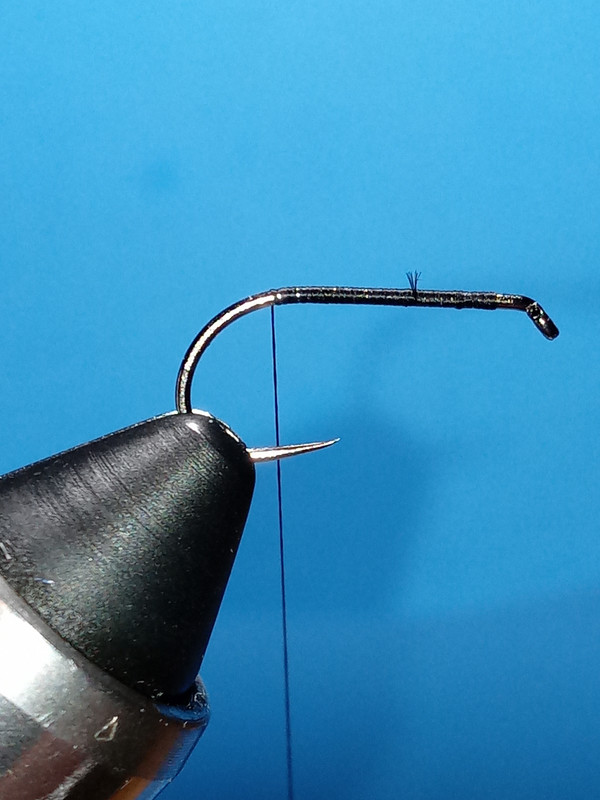
Step 1.
Place the hook in the vise and wrap the thread about an eye and a half behind the eye to the bend of the hook.
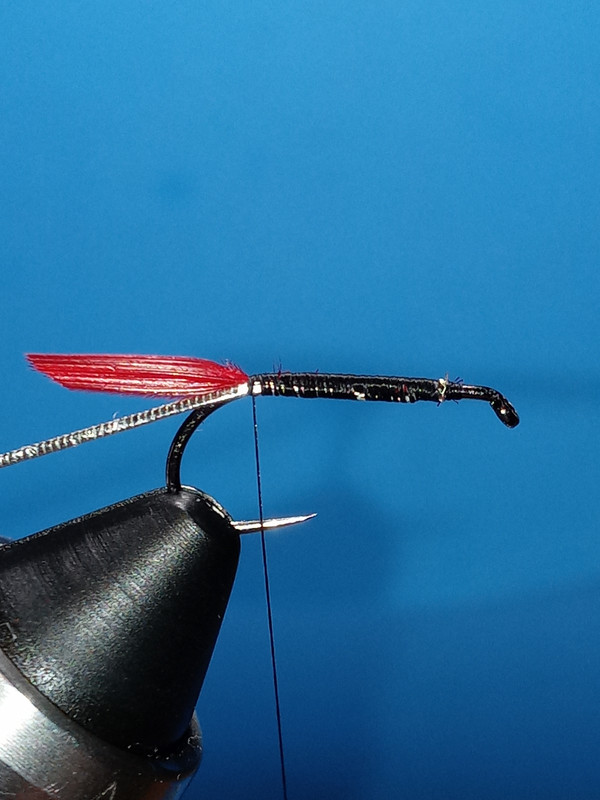
Step 2.
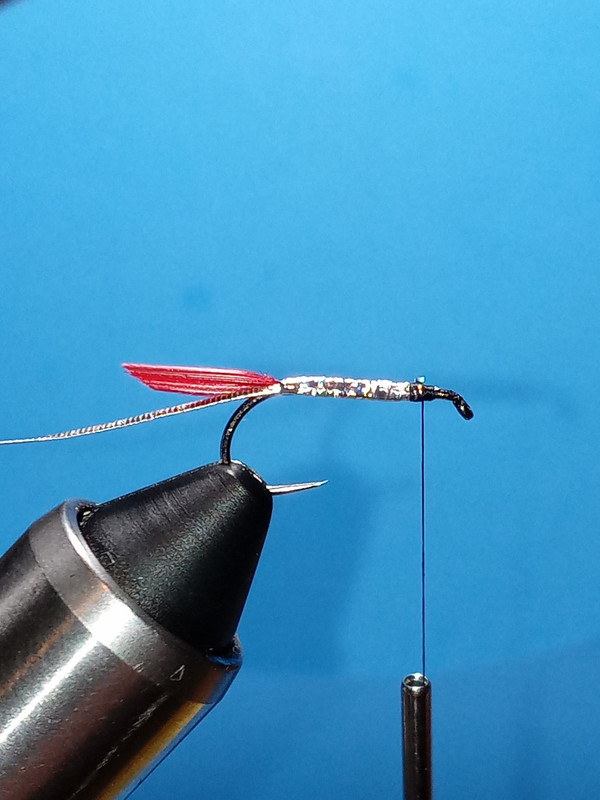
Now take a few fibers from the red duck quill and tie in the tail. Make the tail a hook shank long and bring the thread almost to the eye of the hook.

Step 3.
Now tie in the oval tinsel under the hook shank by wrapping the thread back to the hook bend.
Step 4.
Tie in the silver tinsel and wrap the thread back up to where you started the thread wrap behind the eye.
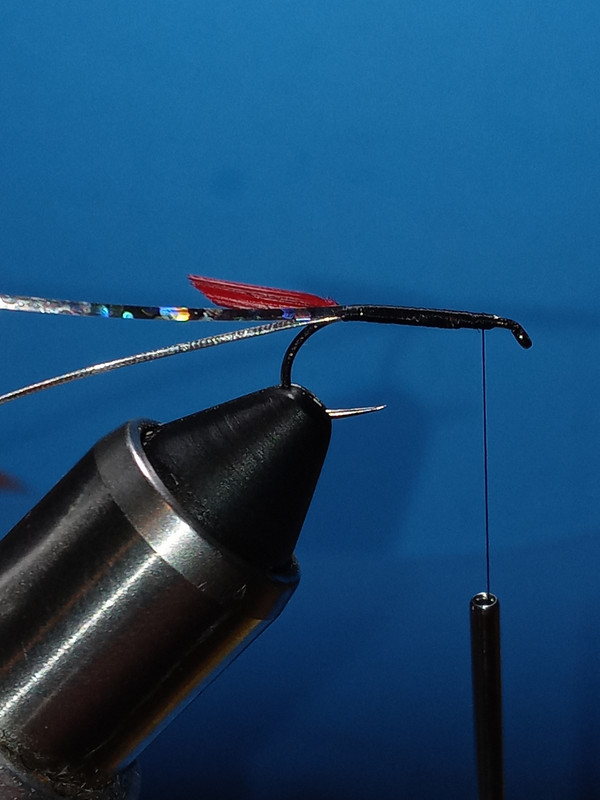
Step 5.
Wrap the tinsel up to the thread and tie it off.
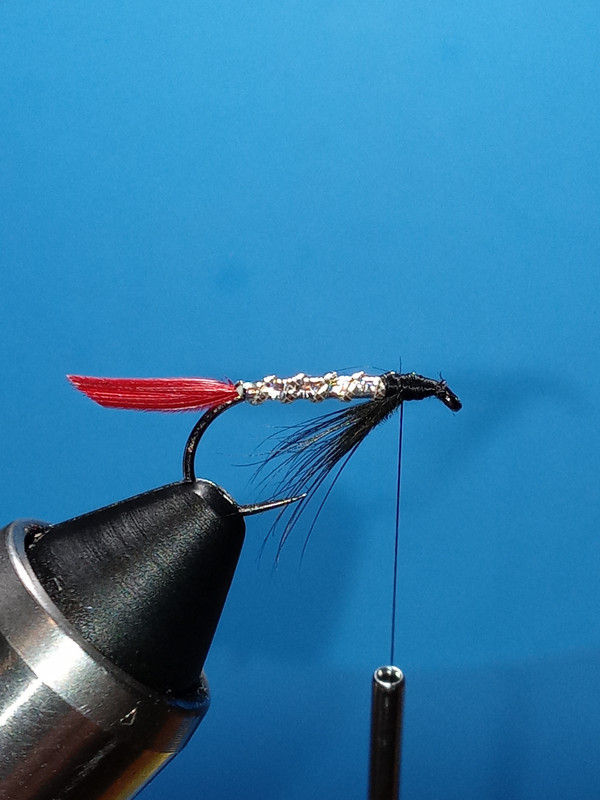
Step 6.
We now take a few fibers from the black hen hackle, about a dozen or so and tie them under the hook shank to where the tips touch the hook point or just a bit shorter is fine.
Step 7.
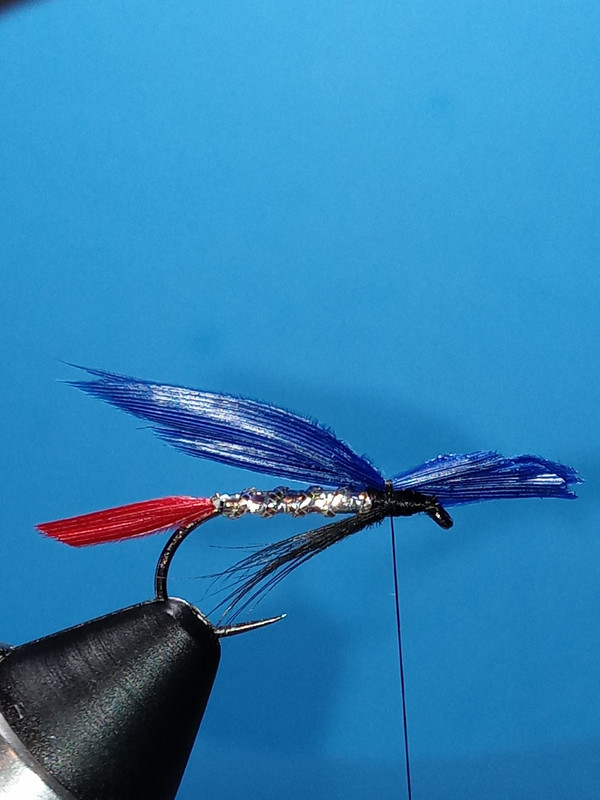
Ok, here's the hard part. The wings. You need a matching set and they say to take about a hook gap of fibers, but I have found that if you take just a few more fibers the wings look better. But in this tutorial I took a gap width and I'm not so sold on it because the wings do compact a tiny bit. But they don't look too bad.
Now line up the wings, you can have them either coming into one another of flared out to the sides, it's up to you. On this fly I put the tips coming into one another. Place the wings on top of the hook shank and pinch them down hard. I mean a Vulcan death grip and do a pinch wrap around the wings and then let the bobbin hang as you adjust the wings. DO NOT LET GO OF THE WINGS! Because if you do you'll lose it all. Hang onto the wings and adjust them to the top of the shank and then put another wrap of thread and then you can let go and look. If everything is where you want it to be go ahead with more wraps and tighten it all down and trim off the waste.
Step 8.
Finish off with 4 whip finishing wraps and add on some UV resin.
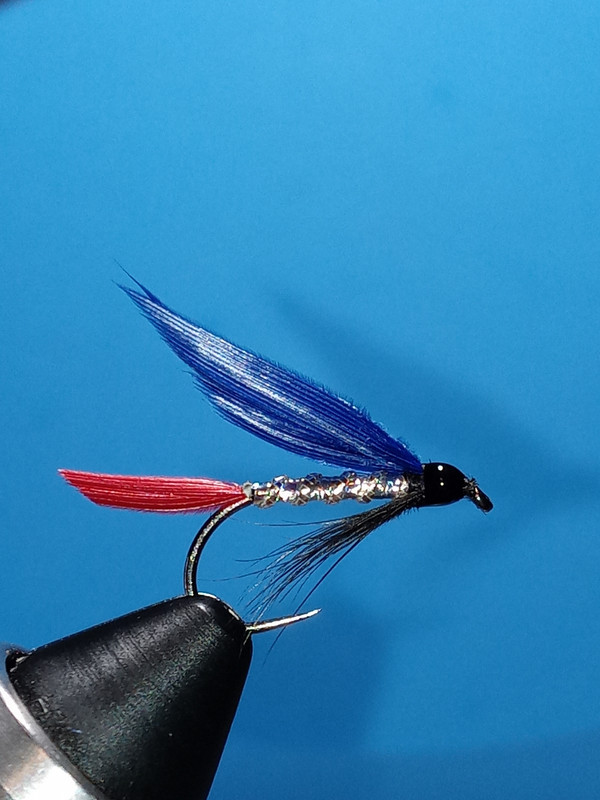
There you have it. I will redo this fly again when I have the proper wings and I'm feeling better. I feel I need to redeem myself on this fly. These wings take practice and once you get to the point where you can do them correctly most of the time you must keep practicing or you'll lose the skill from what I have heard and seen for myself.
If your wings don't look as good as you want, don't worry because the fish really don't care. So fish them.
Good luck, and most of all have fun tying.


