Page 4 of 20

Re: Making the TFF Aerial

Posted: Sat Jul 28, 2012 10:30 pm
by Loop Erimder
Very good that, keep em coming :thumb:

Re: Making the TFF Aerial

Posted: Sat Aug 04, 2012 6:16 pm
by Watermole+
Part 5. Making the Line Drum 2.

..Have not had opportunity to make much progress this week as have been rather involved with a repair and maintenance project on a local river bridge. It's actually rather an honour to be part of the team doing this work and although it won't be finished for several months yet, it's coming along quite nicely and what we are doing should last for a good few years yet!

Anyway, as regards the TFF Aerial, I've managed to complete the inner plate and the next step will be to make the spacers, or pillars, which hold the two together. Drawing on the experience gained, making the Coxon, much greater accuracy has been achieved and this one should be much more finely finished as a result. I've also improved on the method of indexing the lathe chuck for producing the holes so all-in-all, work is progressing rather well, albeit slowly..if that's not a contradiction in terms!

So, making the inner plate for the line drum..
I started by putting a billet of the same grade of duralumin in the chuck, drilling a pilot hole and then boring out to size, minus 0.050"..

Image

..which was then roughly turned. It's always best to get rid of all excess material before finishing.

Image

Then, it was finish-turned to size and the step produced for the spokes.

Image

Next, we set up the drilling attachment and spot-drilled the holes for the pillars..

Image

..before through-drilling.

Image

Then the vent holes were slot-drilled in..

Image

..and the spoke holes.

Image

Next, the plate was reversed in the chuck, clocked up true and turned to final thickness..

Image

..then counter-bored out.

Image

Here you see both plates complete.
The twelve pillar holes have been through-drilled and countersunk to accept the joining screws, yet to be made..

Image

More, -as soon as I can get to it... ...bridge repair work permitting!!

Regards from wm+

Re: Making the TFF Aerial

Posted: Sat Aug 04, 2012 6:34 pm
by Loop Erimder
Never a dull stage in this project lovely wm+

Re: Making the TFF Aerial

Posted: Sat Aug 04, 2012 8:22 pm
by Mark
Yes, very intriguing as usual. :thumb:

Re: Making the TFF Aerial

Posted: Sat Aug 04, 2012 8:28 pm
by LuckyLuca
Fascinating! I so look forward to every installment. Thank you again for sharing this with us wm+

Re: Making the TFF Aerial

Posted: Fri Aug 10, 2012 11:31 pm
by Watermole+
Part 6. Completing the line drum

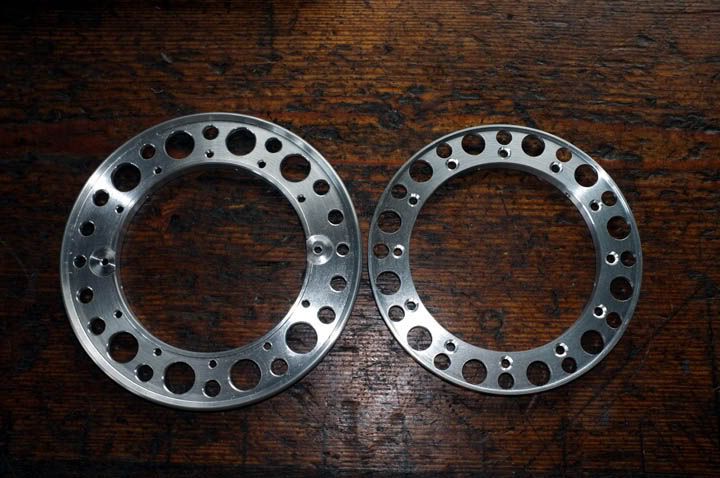
The two side plates for the line drum have now been all but finished and only need some minor adjustments and polishing; this will be done before final assembly.

However, we firstly need to make the pillars, or spacers, to join them together-and of course, the twelve screws, two of which will be for the handles. I decided that the method used for this when making the Coxon project was fine and so, with one-or two small improvements, didn't see any reason to deviate from it. There are no rivets, the drum can be completely dis-assembled if required and complete accuracy was maintained when re-assembling so why change it for the sake of change?

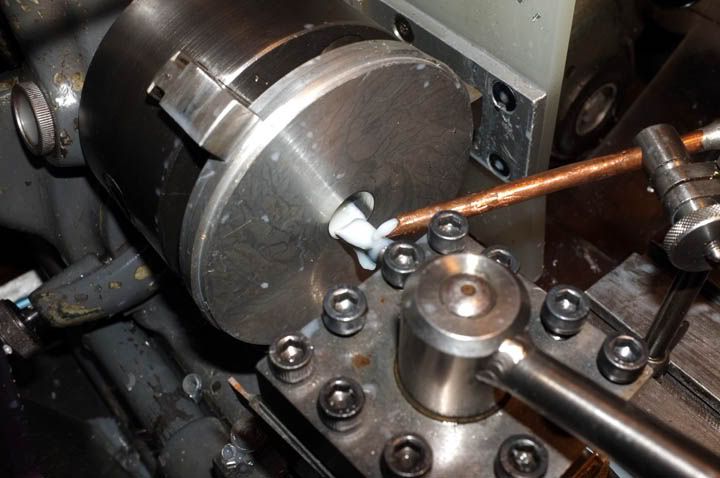
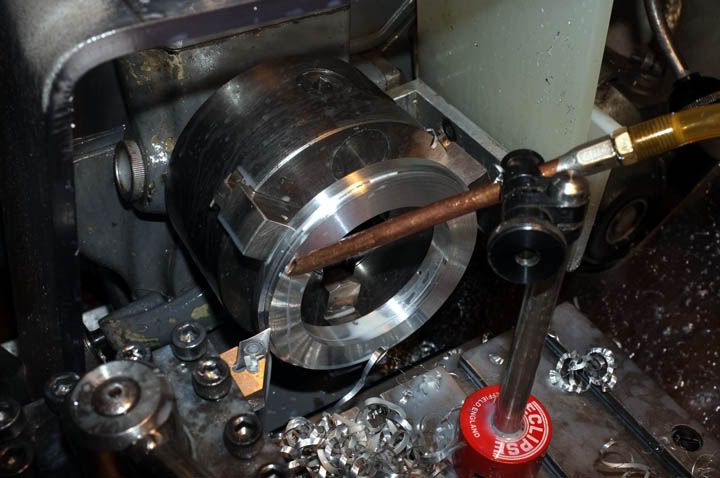
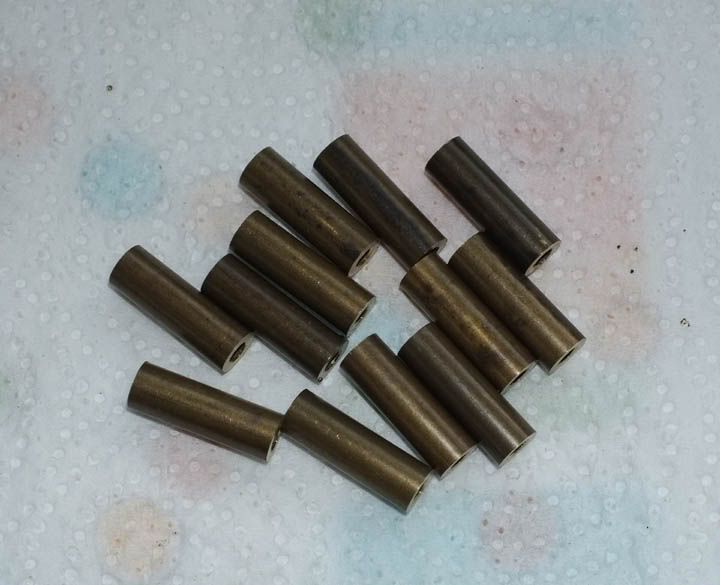
For making the pillars, I used some of the same, drawn nickel-ali. bronze tubing which I use for rod ferrule making. However, it is vital that they are all cut to identical length, otherwise severe problems with true running will certainly result. The first time I did this, it was a bit of a painful process, constantly re-facing off before they were all the same, but this time, lessons were learnt and it was relatively simple to do, before I achieved a result and all were identical to within 0.0006". (just over 1/2 of 1/1000")

Image

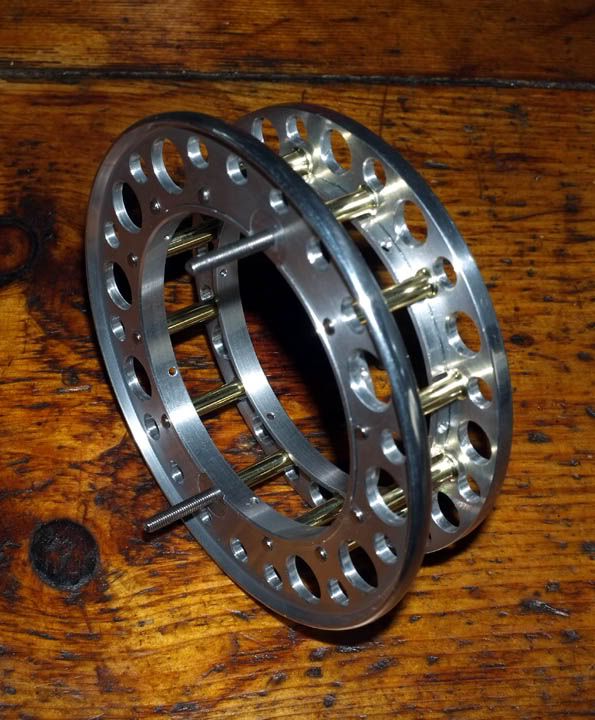
To turn them, I made an interference fit, small tapered arbor for the headstock end and supported the other end with a running centre..

Image

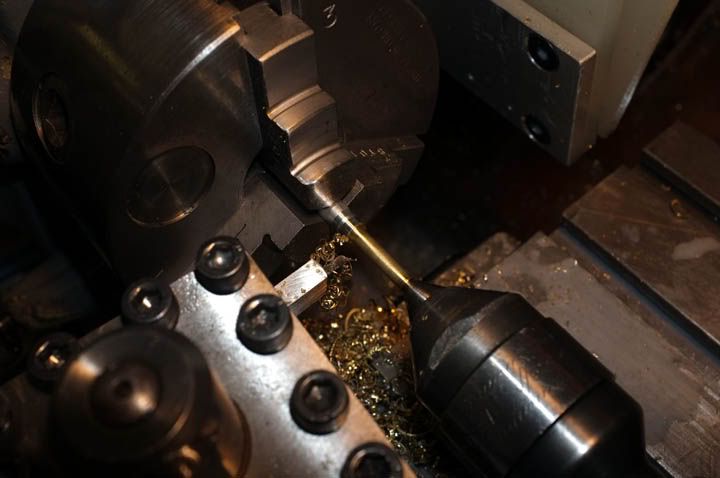
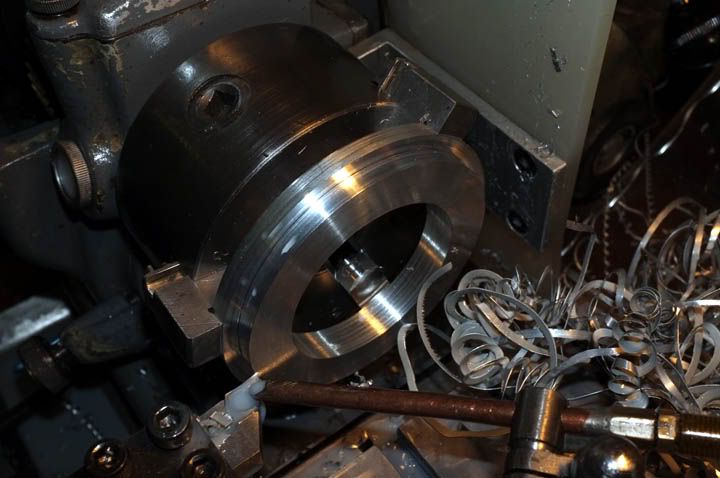
..taking a series of small cuts, using the same radius tool which I ground up for the Coxon pillars. By turning from an arbor, complete concentricity was assured and then it was just a matter of buffing out the turning tool marks and giving them a good polish to harden the metal surface to prevent corrosion. The centre diameter where the line goes is 5/32" (0.1562") and I turned the flaring on the ends to give good location support on the plate faces. They give the impression of being rather heavy but I can assure you that they have a wall thickness of only 0.0157" and are in fact, extremely light!

Image

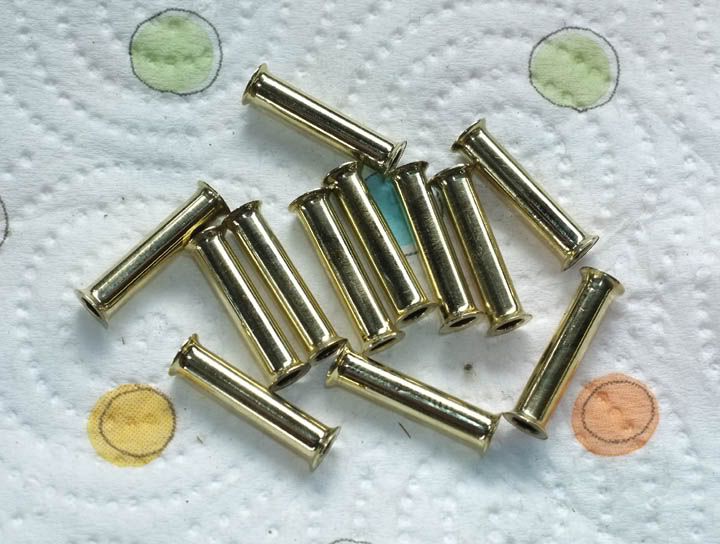
As before, I made the screws from standard M3 countersunk stainless ones, and extensively modified them by reducing the head diameter to 0.156" and re-cutting the 45 degree back faces to make very small heads which would locate precisely centrally in the inner plate holes.
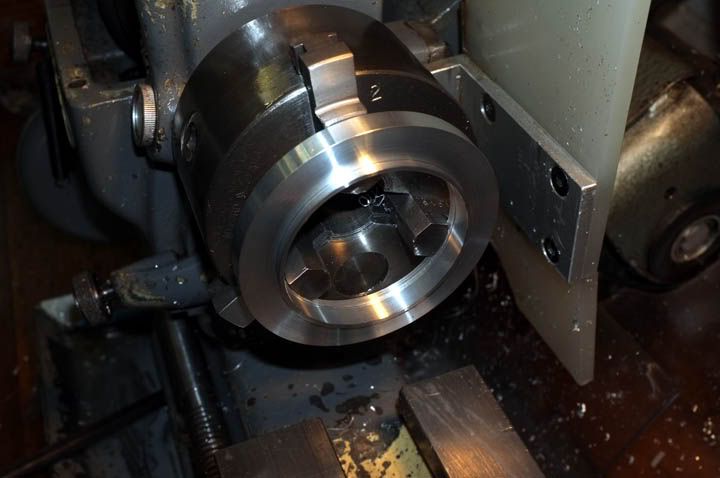
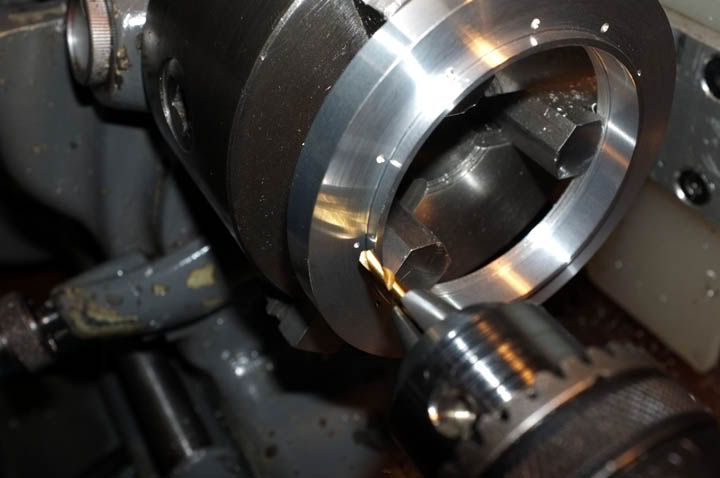
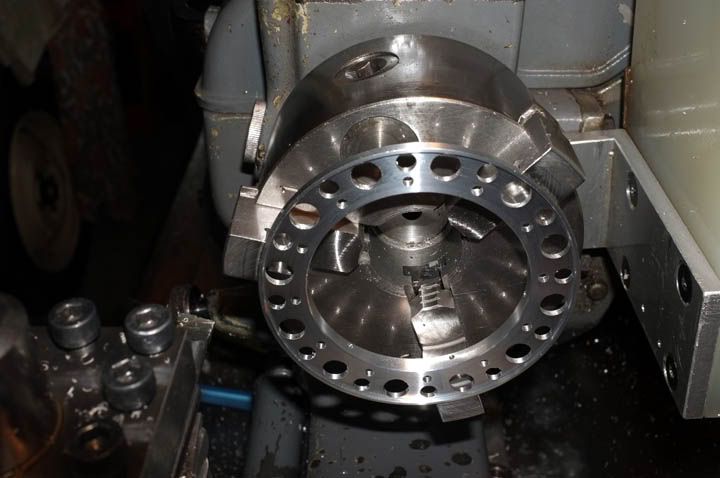
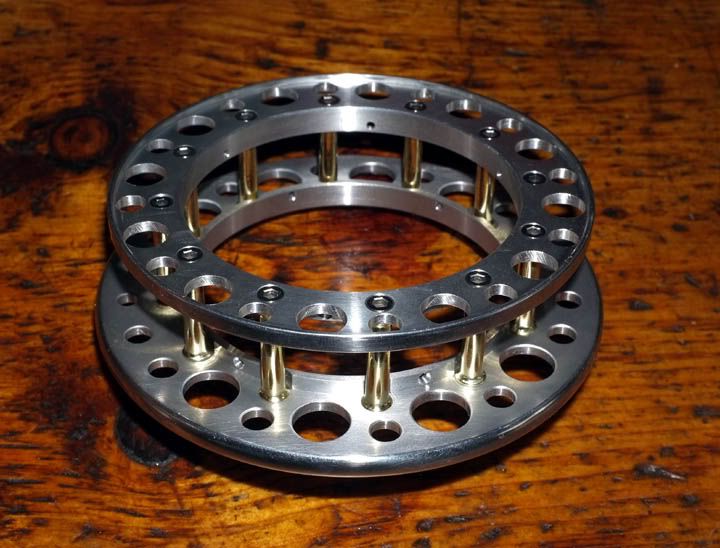
It was then time for a trial assembly, to make sure everything fits and the side plates are dead parallel to each other. All the screws were first located and then gradually tightened in opposite pairs to minimize the chance of distortion. The holes where the handles will go are threaded at the moment, but will be clearance-drilled when the handles are ready to go on.

Image

This is the inner face. You can see how the fixing screws are now flush with the surface.

Image

Next time, we be making the all-important line drum hub and the reel spindle..

With regards,

wm+

Re: Making the TFF Aerial

Posted: Fri Aug 10, 2012 11:39 pm
by Loop Erimder
Brillyunt! .......if only I had the skills and patience :think: :thumb:

Re: Making the TFF Aerial

Posted: Sat Aug 11, 2012 1:13 am
by Mark
It's starting to take shape, very nice wm+, very nice indeed. :thumb:

Re: Making the TFF Aerial

Posted: Sat Aug 11, 2012 7:22 am
by Nobby
Lovely!

I doubt you could make that reel any lighter and with so many pillars it shouldn't 'dink' the line.

I can't wait for the next instalment.

Re: Making the TFF Aerial

Posted: Sat Aug 11, 2012 8:20 am
by MGs
Lovely work as usual :hat: