
This fly was meant for riffled and fast water ( I know, nothing like a chalk stream ) because it's heavily hackled, which I want to share with you a trick called up and down the hill.
So . . . let's get started.
The materials.
Hook: A 1X or 2 X long dry fly hook. A 2X works best. What I'm using here is a Partridge SUD #12.
Thread: Uni Thread Black
Tail: Golden pheasant tippet
Body: Black micro Chenille
Wing: Calf tail is the traditional material. But tell that to a 120 pound Rottweiler who ate your calf tail. Believe me, they don't care. But you can sub it for white McFLYLON, which I like better.
Hackle: Brown cock hackle.
Step 1: Wrap your thread about 2 eye lengths behind the eye.
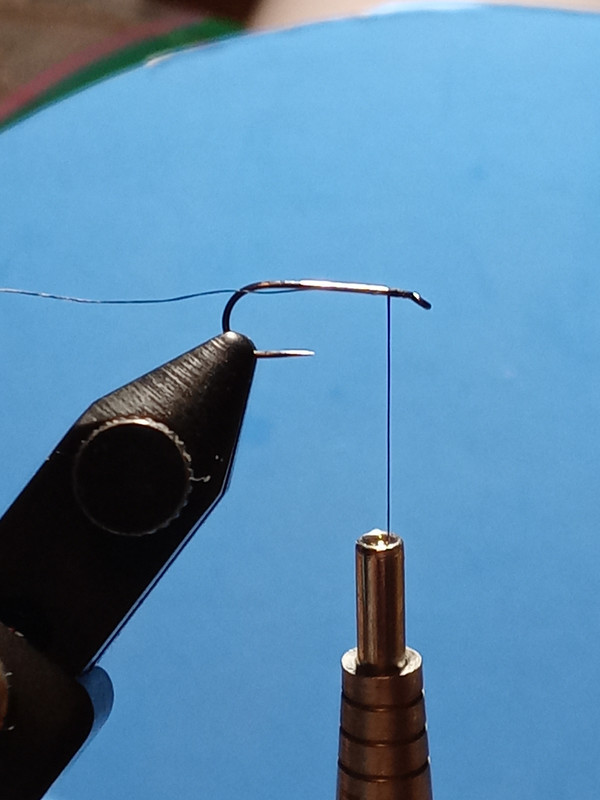
Step 2: With the thread at the barb, or if you're using a barbless hook, about where the barb would be, tie in your tail. You want the tail a shank long. Capture the tail and wrap back to the bend about three turns.
Step 3: Trim the excess off from the tail at the length of the body and take the thread back to the tail. Now prepare your chenille by stripping off the fuzz at the end. The reason is, if you don't, you'll begin the body with a bump at the end of the fly, and you don't want that.

Step 4: Tie in the chenille by the stripped end near the tail.

Step 5: Wrap the chenille up about 5 wraps.

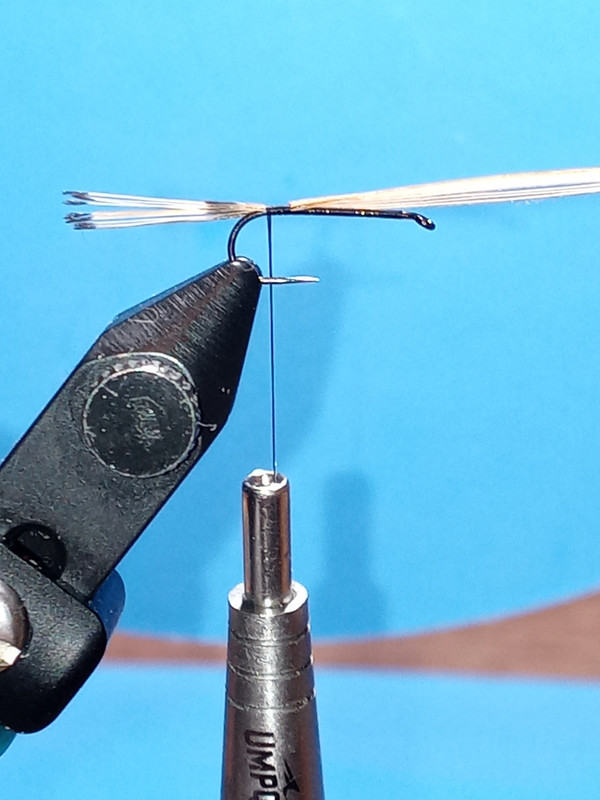
Step 6: Now tie off the chenille and place your wing on. You want the wing about at the end of the bend of the hook or half way on the tail.

Step 7: Now we tie in the hackle. Take your thread about an eye length behind the eye and tie in the hackle near the eye leaving a space between the hackle and wing.

Step 8: This is the trick we call up and down the hill. Wrap the hackle back to the wing and then wrap it back up to almost the eye. This gives a thick heavy hackle for faster water.
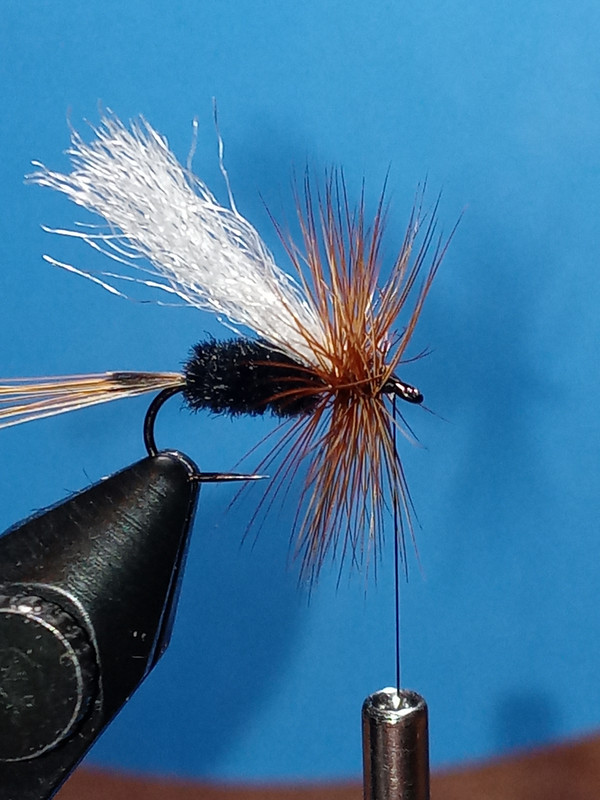
Step 9: Tie in the head and apply varnish. You're finished.

This fly did so well, that as a joke, if the game warden ever checked you out and you did not have this fly in your box, they jokingly would write you a ticket. It did that well that everyone had this fly back when I was a boy. Fish it with good presentation and hang on.
