Sorry about that. The computer needed an update before it would continue but all appears to be well now.
We were about to start cutting the float body profile. By turning the thumbwheel, the blade was brought to bear, a little cautiously at first..
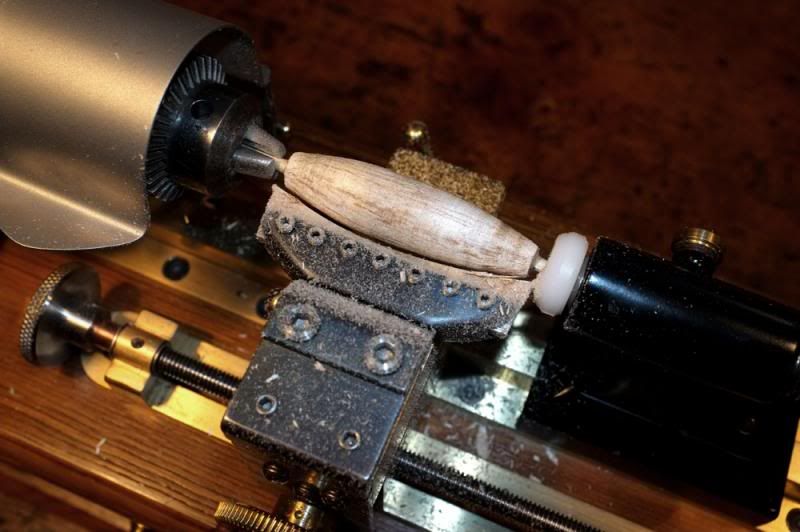
..then wound in to the 'stop' position..
As you see, the profile is quite acceptable and will require only minimum sanding with a little 2000 grit paper, to give a good surface finish.
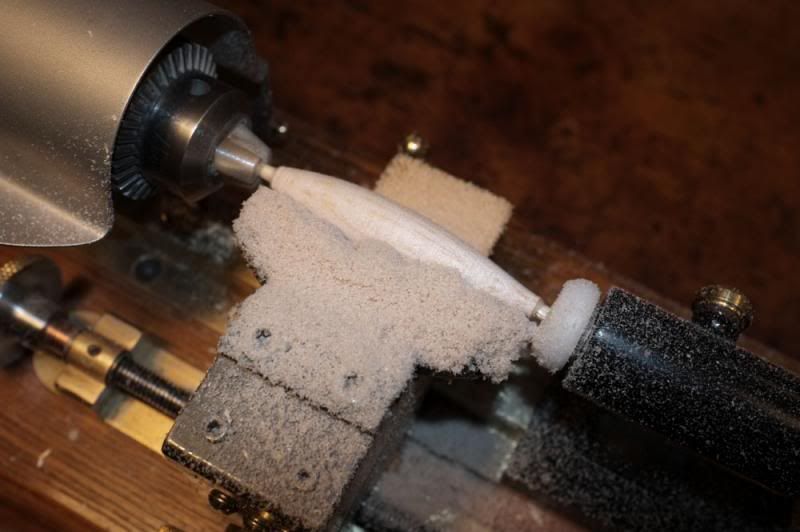
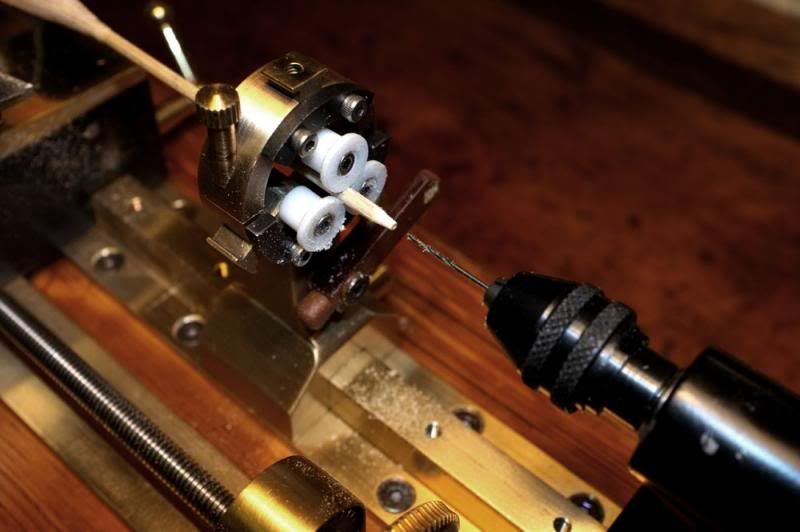
The next step is to drill a tiny hole for the wire eye to go into.
The rapid drilling slide was reinstated in the tailstock and the Steady positioned up. You can see that I have reversed the steady jaws again and fitted a set of little delrin rollers, which were made previously. I have made several sets of different sizes and they are easily set up with the little screws as shown.
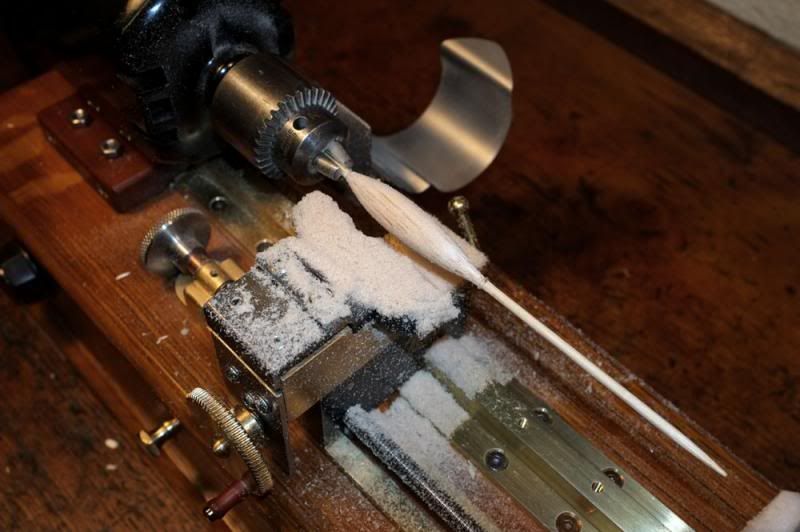
The final step is to trim the float 'sight' end to length and taper it, ready for finishing & painting.
The float was reversed in the chuck and held in the steady..

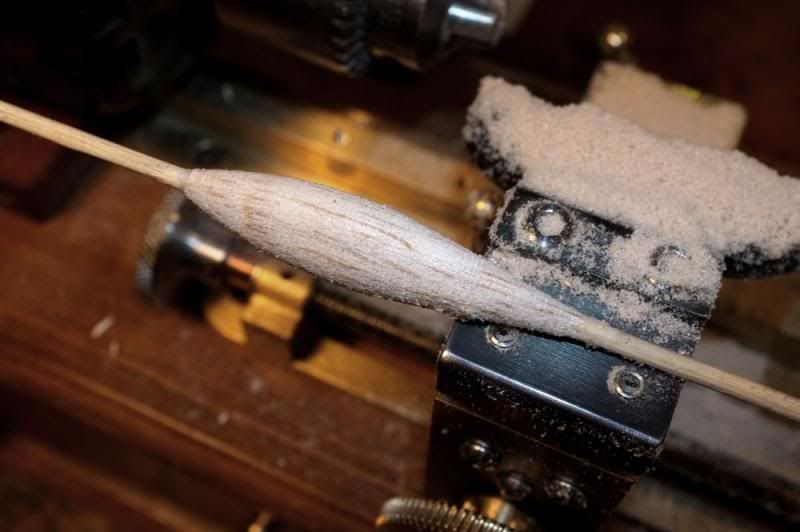
..and then finished-and this completes the first one!!!

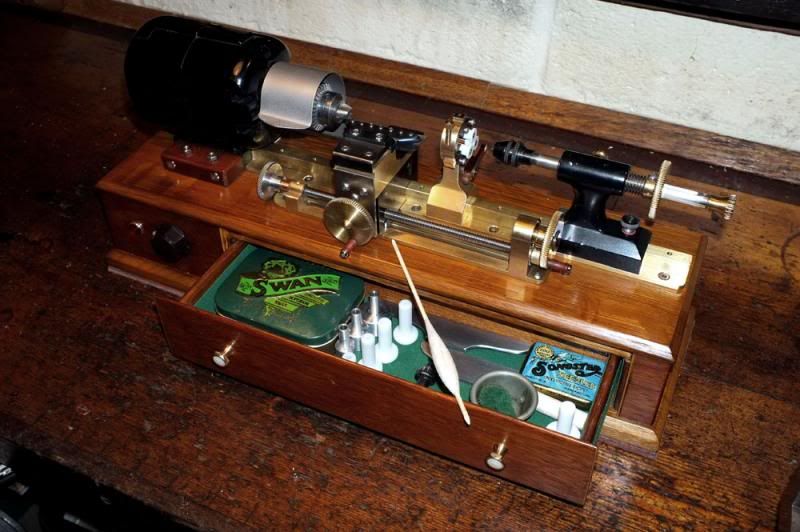
There are still many odds & ends to make but essentially, the project is complete. Of course, floats will be made in small batches as required, instead of the step-by-step as shown here, but at least the process works. I will make all the different blades to suit different shape bodies etc. as needed and possibly fit some kind of dust extractor unit in the future, but time now to complete all long-overdue, outstanding work, which some of you have been patiently waiting for and then to the next project.
Inspired by Gudgeon Jims' fantastic efforts, I was thinking about having a go at a R.W. style, landing net spreader block, but a folding version of it for easier transport..
..either that, or try and make 'The Alterex' a reality.. ..what do you think?
..But for the time being, I'm going to have a play on this!
The first float.
Best regards to all,
wm+
